Mulching garden beds can help retain moisture, suppress weeds and make the area look cared for. The trick is to prepare the bed first and leave space around stems. Spreading a fresh layer over weeds or piling it against a trunk usually creates another job later.
Prepare for mulching garden beds
Remove rubbish and identify the plants you want to keep. Hand-weed small areas while the soil is workable, taking care around shallow roots. Water dry soil before covering it, because mulch is most useful when it helps hold moisture already in the ground.
Apply it thoughtfully
- Choose a mulch suited to the planting, exposure and site. Fine materials can blow around in exposed coastal gardens; ask a local supplier about suitable options.
- Check the existing layer before adding more. You may only need to top up thin patches.
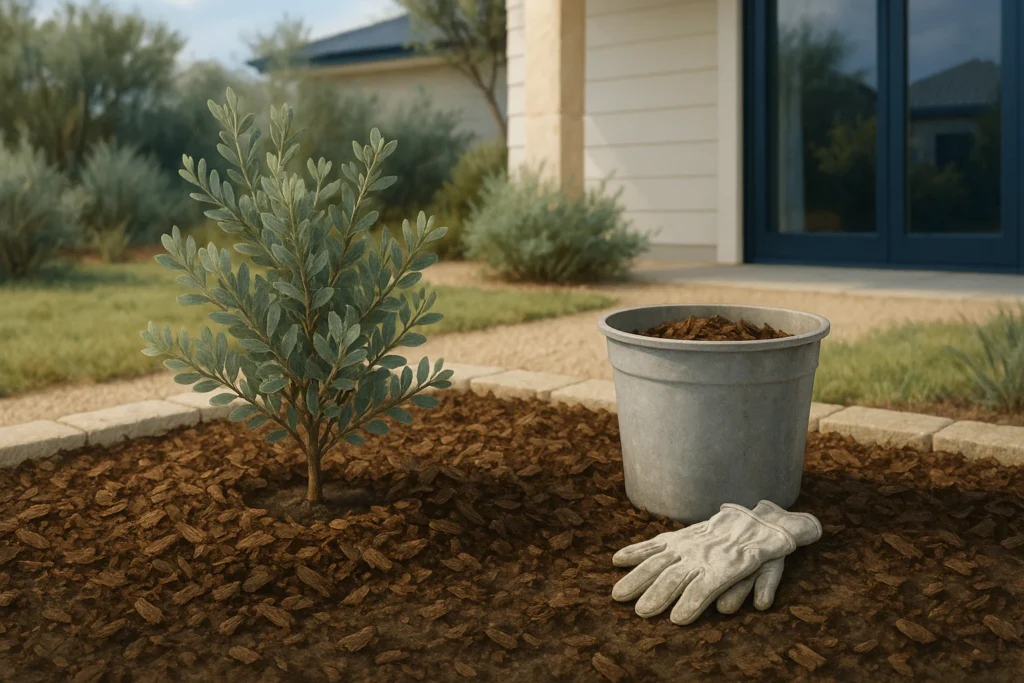
- Follow the product guidance and plant needs. Green Adelaide recommends a 5–10 cm layer for native-plant aftercare, with a gap around stems.
- Spread evenly rather than making a mound around each trunk. Keep drainage openings and paths clear.
- Leave building inspection zones visible and keep mulch away from cladding, vents and weep holes. Ask your pest inspector about the clearance needed at your property.
Estimate the amount before ordering
Work out the volume before ordering: area in square metres multiplied by depth in metres gives cubic metres. For example, 10 square metres at 0.05 metres deep needs about 0.5 cubic metres before allowing for settling.
Check afterwards
Look beneath the mulch when deciding whether to water. Do not assume the bed is moist because the top looks neat. Revisit exposed areas after strong wind and move displaced material off paths. Check the gap around each stem again as the material settles. If an area stays unusually wet, pause before adding more mulch and investigate the cause.
Further reading: Green Adelaide: native plant aftercare.